It’s Been HOW LONG???
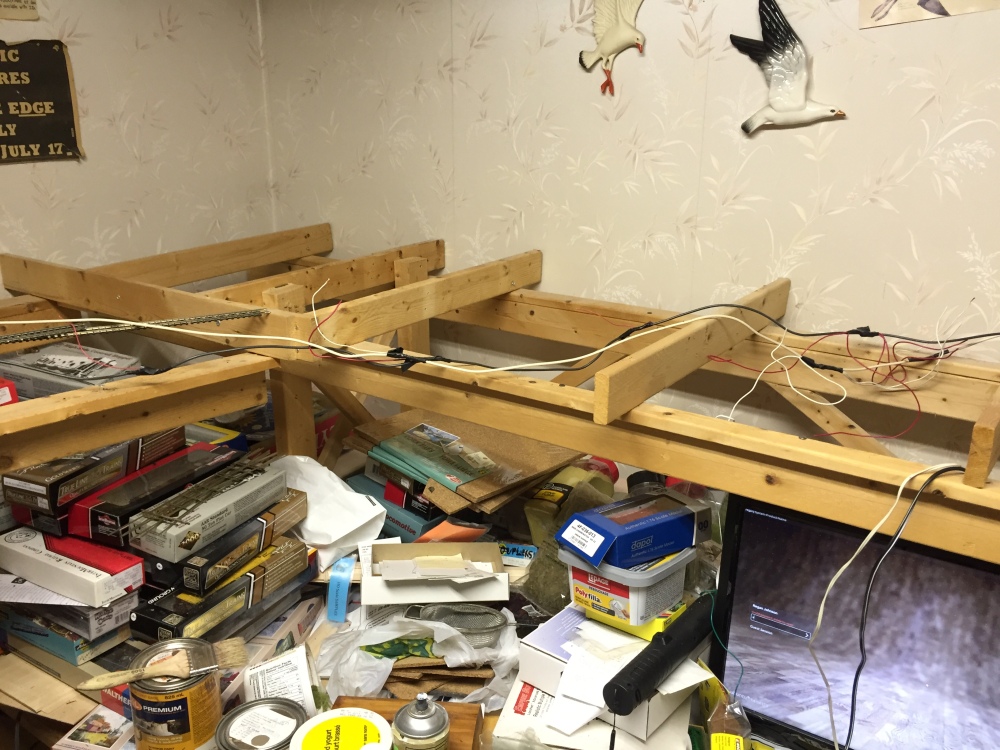
wow. I’m a bad blogger. It’s been about two years since my last post, and there hasn’t been a lot of activity on the layout to comment on.
I promise from this point forward to start to try to be a better blogger. Some upcoming topics could include:
- It turns out, that a friend’s father worked in one of the buildings on the real spur, the Howden and Parson’s plant. It’s not on the track plan, but it needed to be! Stay tuned for more!
- The John Ingliss plant building is still alive and kicking, but is now a self-storage building. I fixed the track, and have started on it!
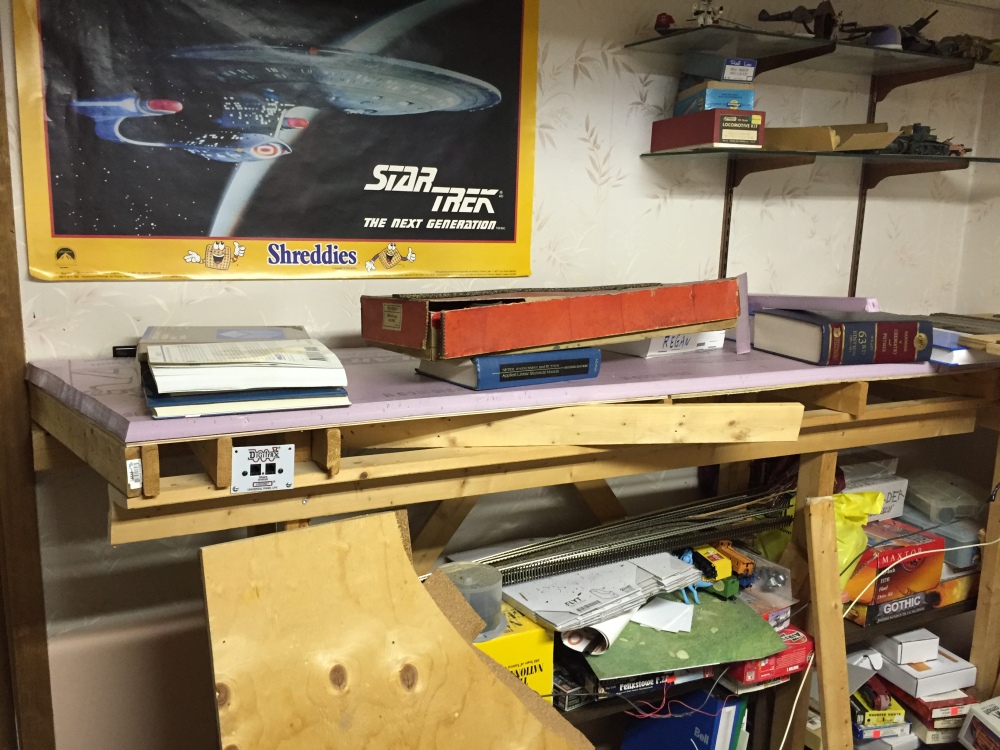
- I’ve built some mock buildings to fill up the layout, and am rather happy with the results.
- I’ve started with the scenery along the ‘south’ wall, covering the team track and the Ingliss building.
- I had some good, and less than good experiments with laying road. Making good road to live up to Trevor’s turnouts will be tricky!
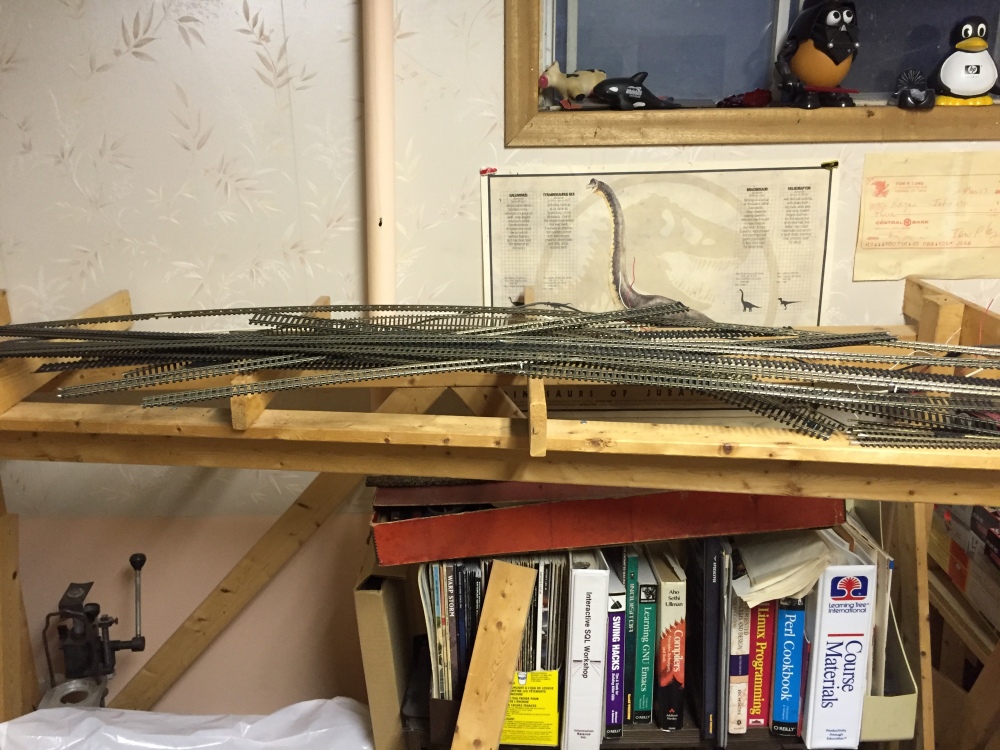
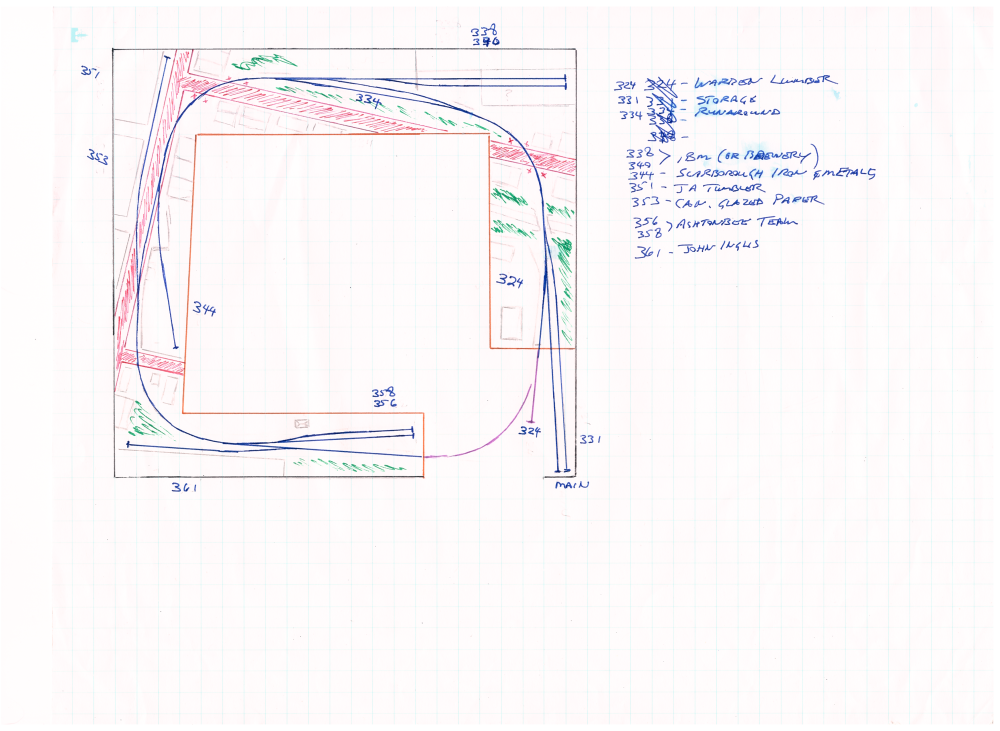
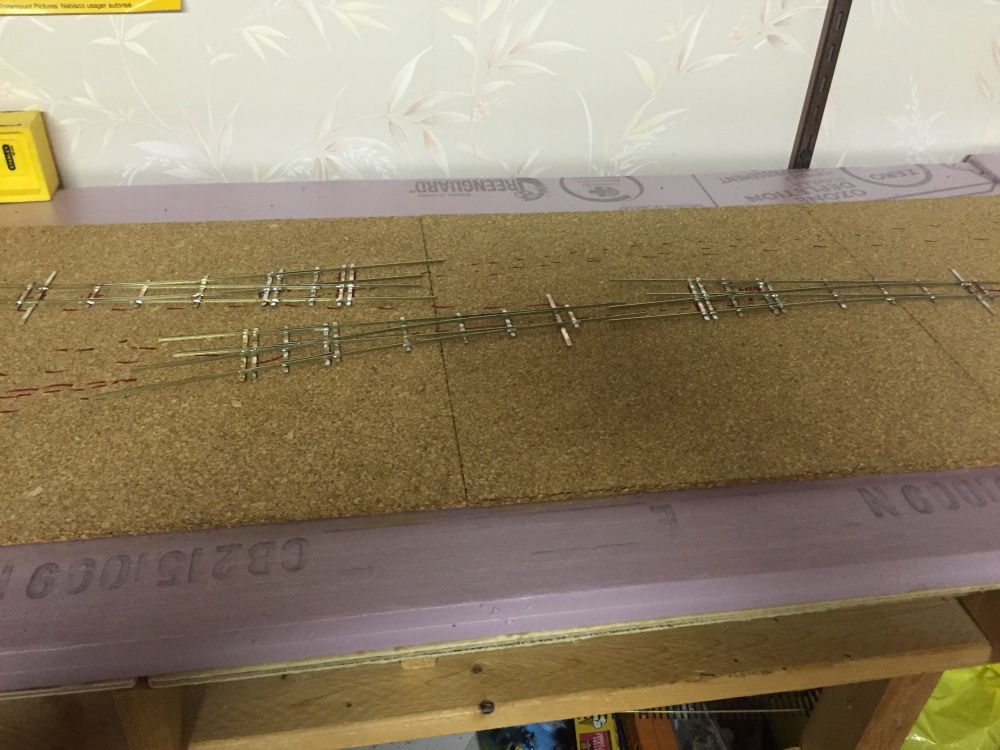
Finally, here’s the track plan that I’ve been working from. No real changes, except getting rid of IBM, and replacing it with Howden and Parson’s
It turns out, that a friend’s father worked in one of the buildings on the real spur, the Howden and Parson’s plant. It’s not on the track plan, but it needed to be! Stay tuned for more!
The John Ingliss plant building is still alive and kicking, but is now a self-storage building. I fixed the track, and have started on the plant
I’ve built some mock buildings to fill up the layout, and am rather happy with the results.
I’ve experimented with some ti
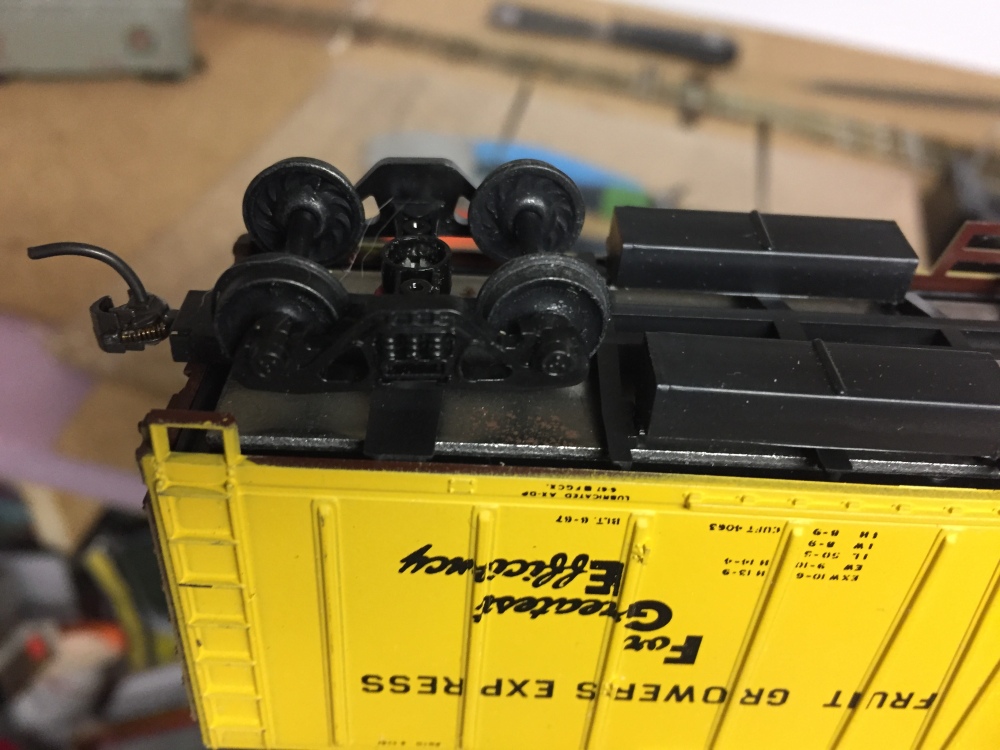
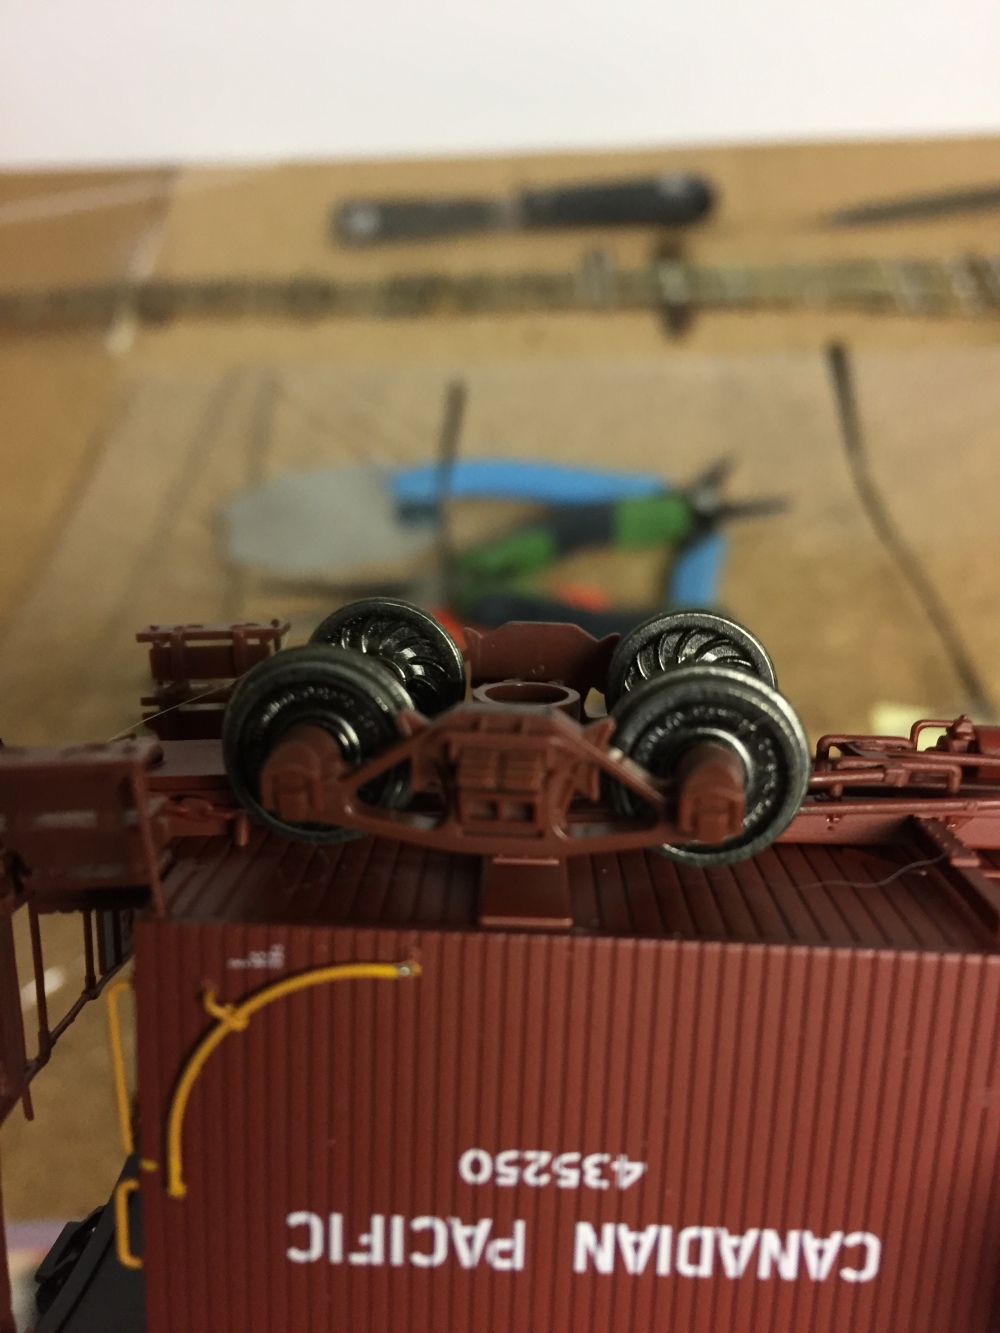 which really, isn’t a big change. WOW. the van derailed reliably, and regularly on one section of track. I had embarrassed myself.
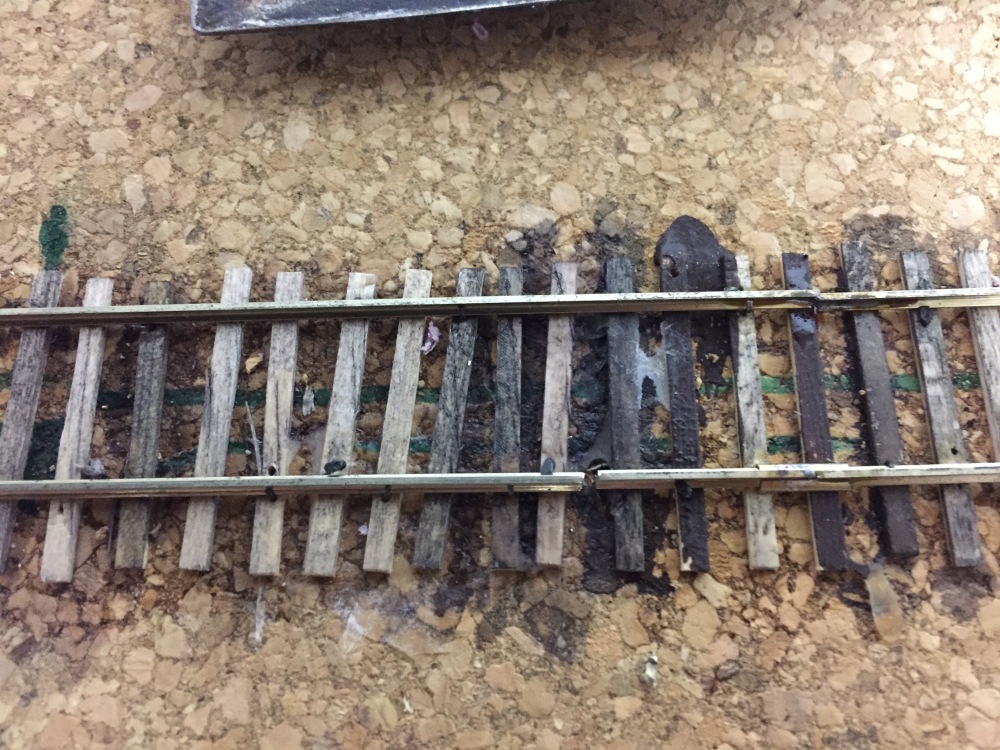
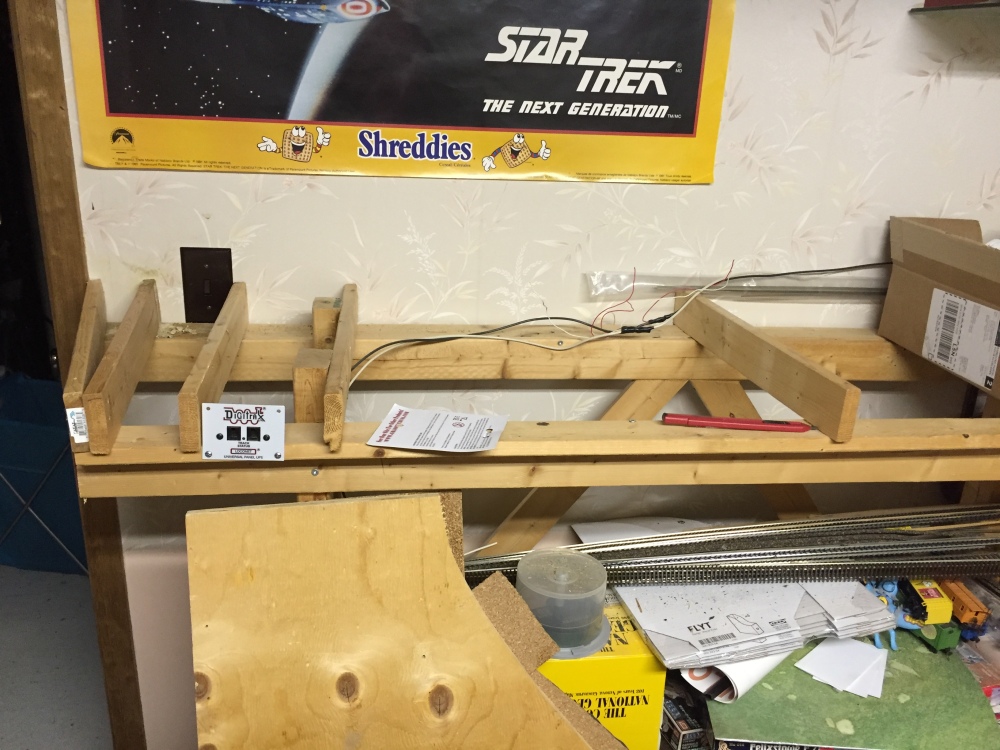
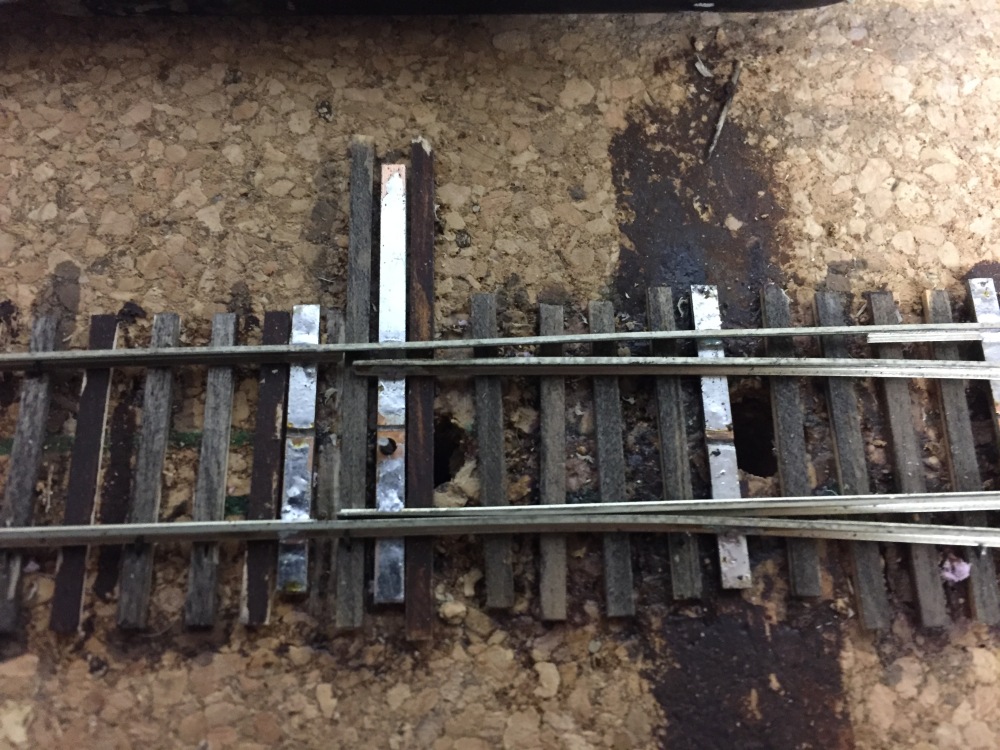 I have a turnout that doesn’t quite work:
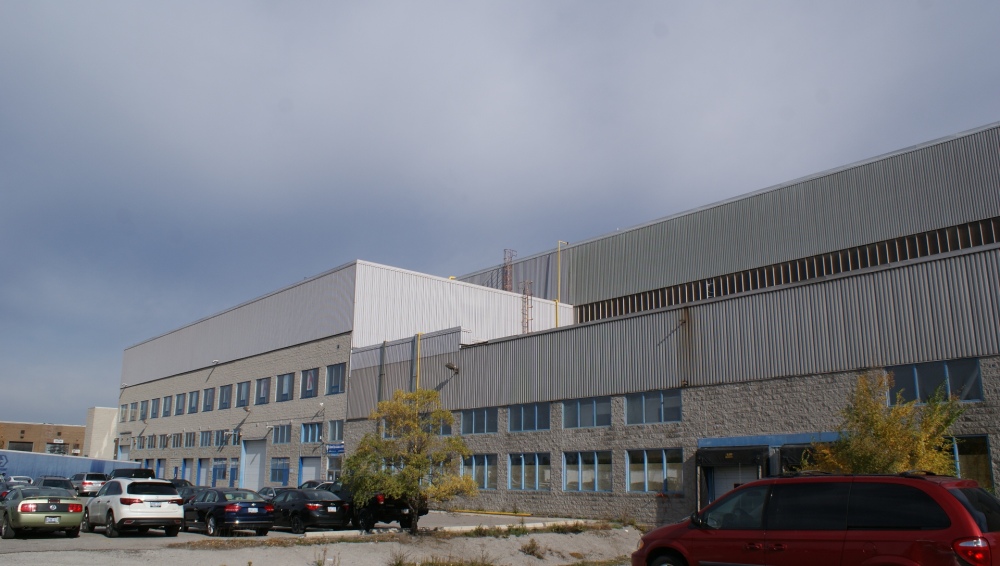

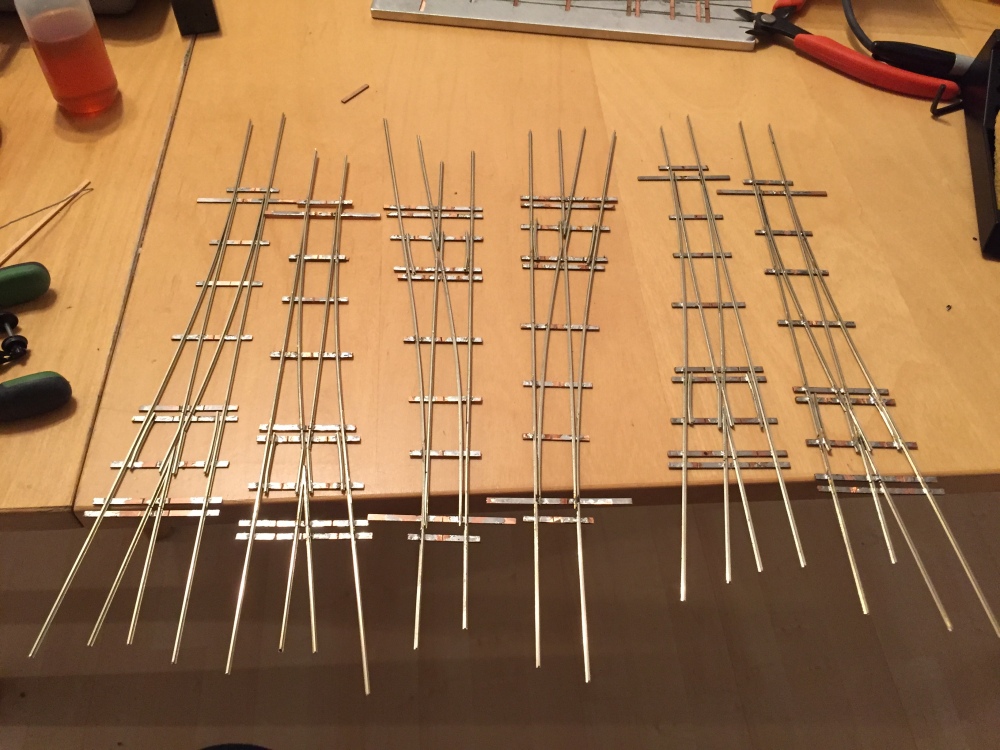
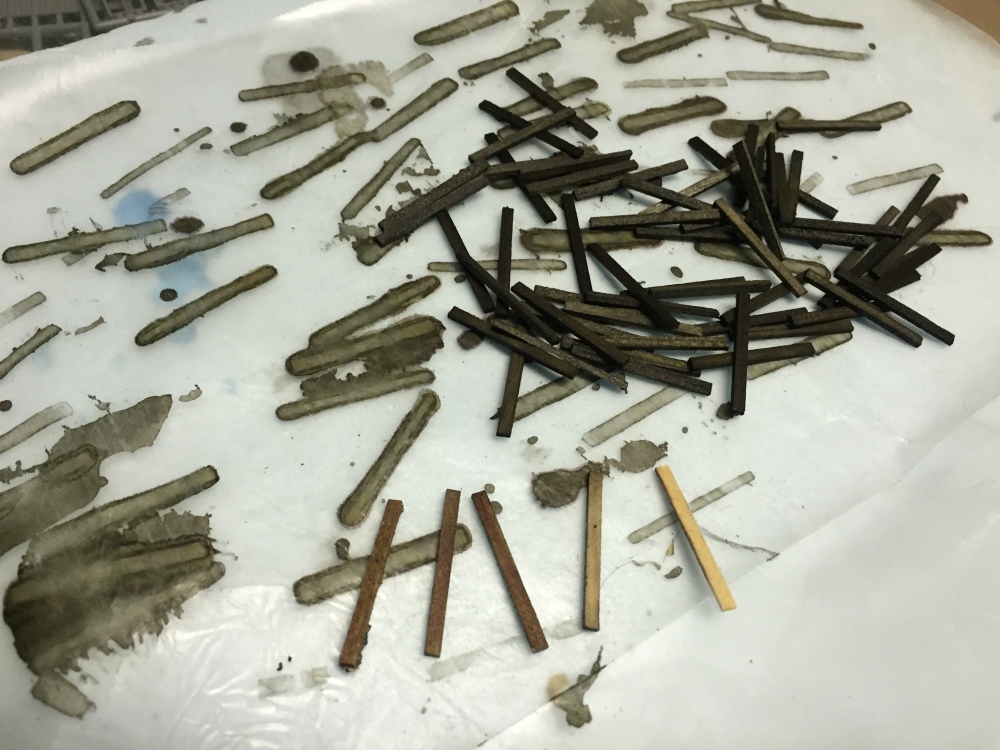 Most of the ties were dunked and pulled out of the India ink weathering solution. there is nice variation in colouring, but it wasn’t fast enough to do for my liking. The brown ties at the bottom were stained. I expect that I’ll go with that.
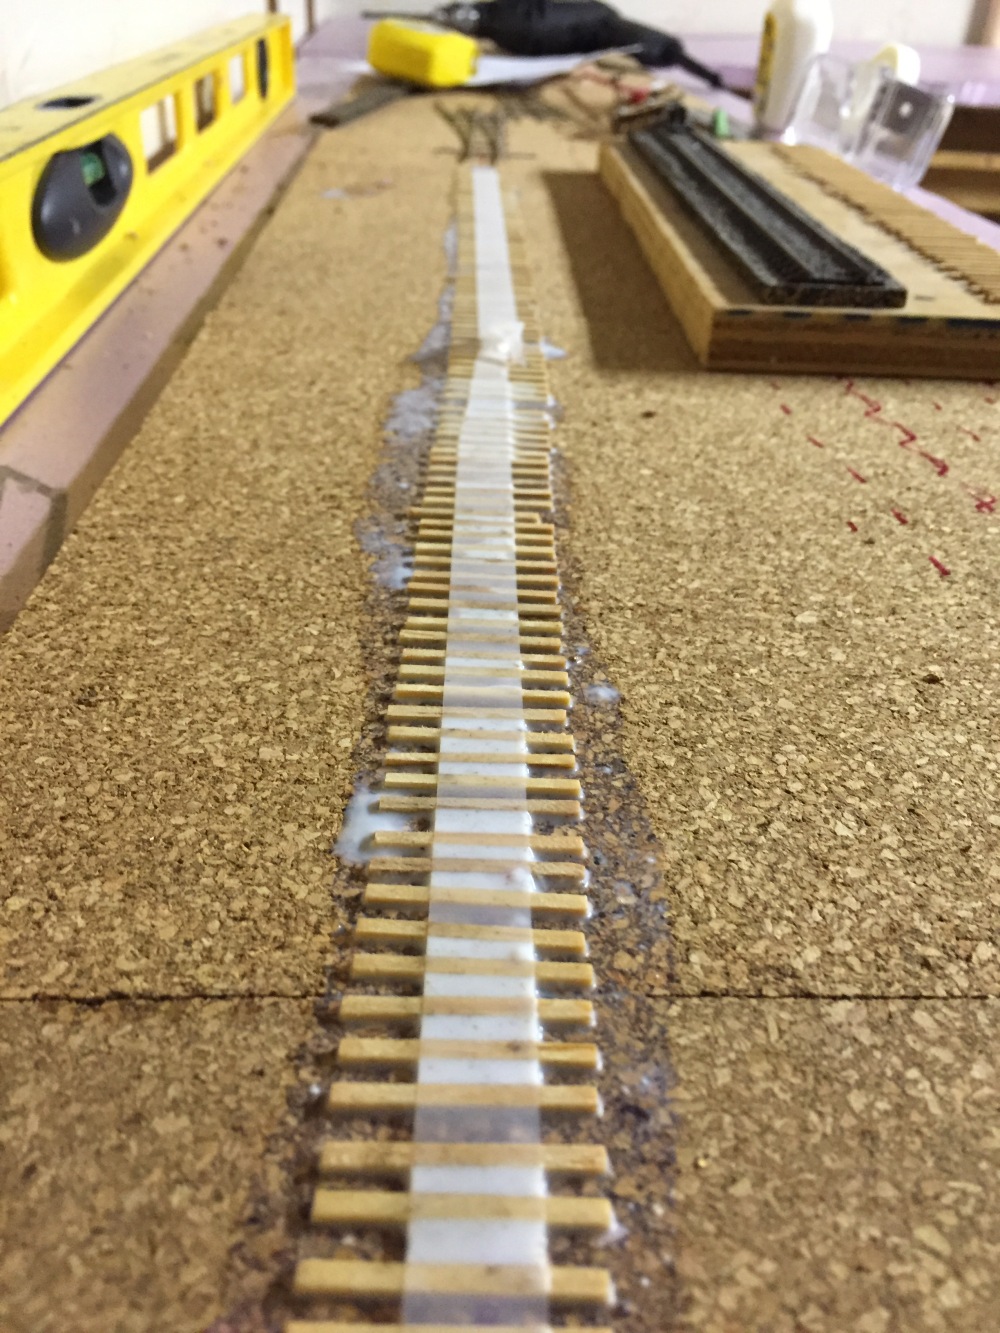 The ties are being glued down. There is one tie out of alignment. I didn’t see it until I looked at this photo while I was writing this blog. I’ll probably leave it alone, and blame it on a sloppy work crew. You can see my tie jig to the right. It’s got room for about 50 ties, so I can get a decent number of ties done with each ‘load’ of the jig. There is a little bit of room for the ties to wiggle, so they are not perfectly straight or equidistant. I’m hoping that it looks good, so that I can justify my laziness in building the jig.